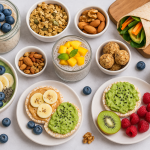
Packing a school lunch that’s both healthy and appealing to kids can feel like walking a tightrope. On one side, parents want to make sure children are getting the nutrients they need to stay energized, focused, and satisfied throughout the school day. On the other side, children often crave fun, tasty snacks—sometimes more interested in the treats their friends are eating than the carefully balanced meals their parents pack.
This is where no-bake bars come in. They hit that sweet spot: they’re quick and easy to prepare, full of nourishing ingredients, endlessly customizable, and delicious enough for kids to love. Whether you’re a parent seeking budget-friendly lunchbox fillers, someone with dietary restrictions, or simply a busy household trying to minimize cooking stress, no-bake bars provide the perfect solution.
In this guide, we’ll explore everything you need to know about making healthy no-bake bars for school lunches. From nutrition benefits to step-by-step recipes, storage tips, and creative variations, you’ll walk away with a complete playbook to keep your kids’ lunchboxes exciting all year round.
Why Choose No-Bake Bars?
1. Time-Saving and Stress-Free
One of the biggest hurdles for parents is time. Mornings are often rushed, and few families have the luxury of baking or cooking from scratch daily. No-bake bars typically require just 10–20 minutes of prep time with no oven involved. Once mixed and chilled, they’re ready to cut and pack.
2. Nutritionally Balanced
When made thoughtfully, no-bake bars are loaded with:
Fiber from oats, seeds, or dried fruit
Protein from nut butters or plant-based alternatives
Healthy fats from nuts, seeds, and coconut
Natural sweetness from dates, maple syrup, or honey (vegan option: maple or agave)
This balance keeps kids full and avoids the sugar spikes and crashes caused by processed snack bars.
3. Allergen-Friendly Options
Many store-bought bars contain allergens like dairy, gluten, or nuts. By making them at home, you can customize:
Nut-free versions for schools with strict allergy rules
Gluten-free options with certified oats or alternative grains
Vegan recipes free from dairy, honey, or eggs
4. Budget-Friendly
A pack of commercial snack bars can cost $5–$10 for just a handful of servings. Homemade bars often work out to less than $1 per bar, especially if you buy pantry staples like oats or seeds in bulk.
5. Kid-Approved Taste
Let’s be real—if it doesn’t taste good, kids won’t eat it. Luckily, no-bake bars can mimic the flavors of popular snacks—chocolate chip cookies, peanut butter cups, granola clusters—while still being healthier.
The Building Blocks of Healthy No-Bake Bars
To make your bars foolproof, think in terms of four key components:
Base/Grain
Rolled oats (gluten-free if needed)
Puffed rice or quinoa
Shredded coconut
Binder
Nut or seed butters (peanut, almond, sunflower seed, tahini)
Medjool dates blended into paste
Maple syrup, honey, or agave
Boosters (Nutrition & Flavor)
Chia seeds, flaxseed meal, or hemp hearts
Protein powder (optional for older kids or athletes)
Cocoa powder, cinnamon, or vanilla
Mix-Ins
Mini chocolate chips (dairy-free if vegan)
Dried fruit (cranberries, raisins, apricots)
Seeds (pumpkin, sunflower, sesame)
Shredded carrots or zucchini (hidden veggies!)
Once you understand this formula, the variations are limitless.
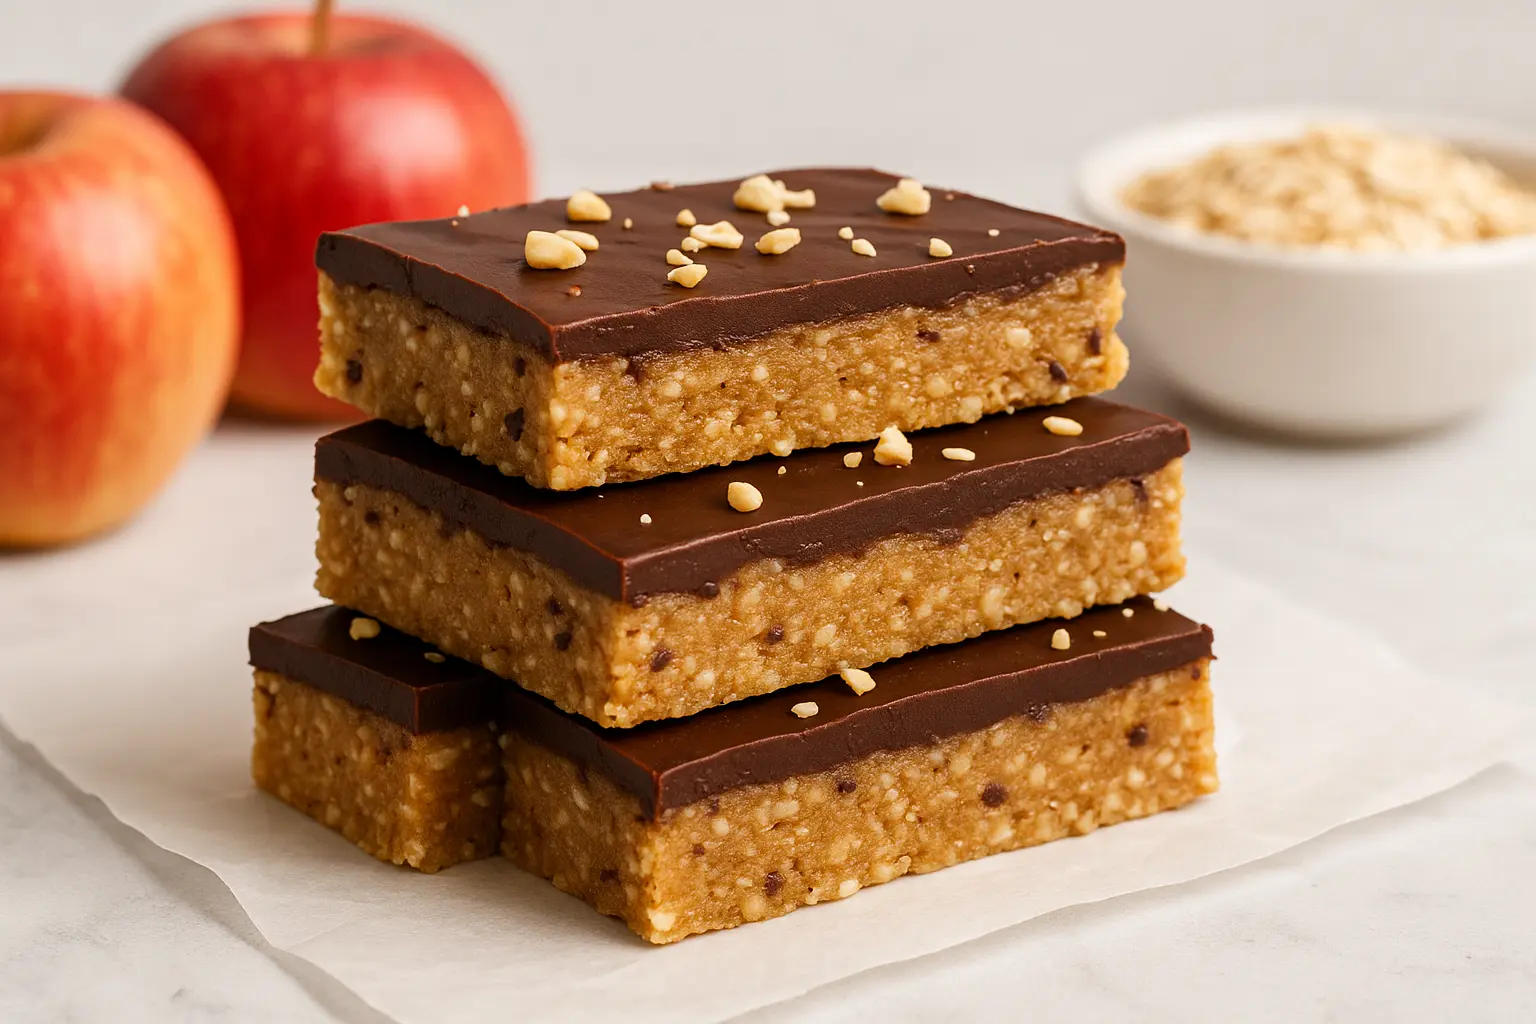
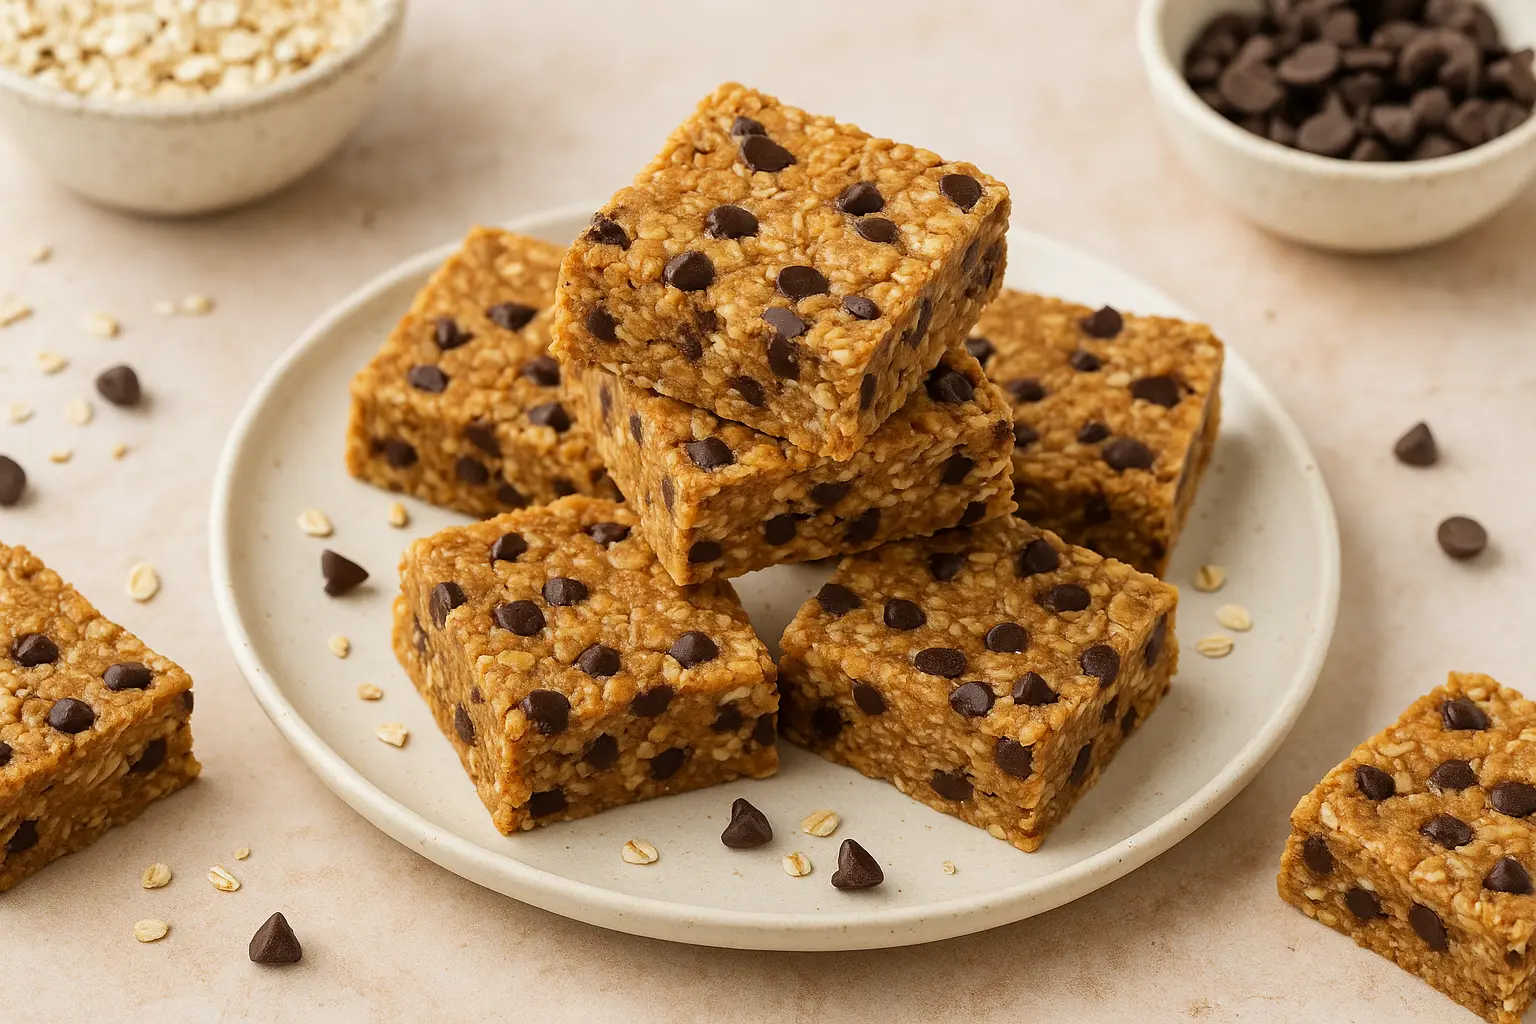
Core Recipe: Classic Chocolate Chip Oat No-Bake Bars
This is the go-to recipe most kids adore.
Ingredients (makes 12 bars):
2 cups rolled oats
½ cup natural peanut butter (or sunflower seed butter for nut-free)
½ cup maple syrup or honey
½ cup mini dark chocolate chips
¼ cup ground flaxseed
1 tsp vanilla extract
Pinch of salt
Instructions:
In a saucepan over low heat, warm the peanut butter and maple syrup until smooth.
Remove from heat, stir in vanilla and salt.
Add oats and flaxseed, mixing until well coated.
Fold in chocolate chips (wait until mixture cools slightly so they don’t melt).
Press mixture into a parchment-lined square baking dish.
Chill for 1–2 hours, then cut into bars.
Kid-Friendly Tip: Cut into smaller bite-sized squares for younger children.
10 Delicious Variations
Cranberry Coconut Bars
Add shredded coconut and dried cranberries.
Nut-Free Sunflower Choco Bars
Use sunflower butter and pumpkin seeds.
Apple Cinnamon Energy Bars
Add dried apple slices and a sprinkle of cinnamon.
Carrot Cake Bars
Fold in shredded carrots, raisins, and a dash of nutmeg.
Banana Oat Bars
Use mashed ripe bananas instead of syrup for natural sweetness.
Berry Blast Bars
Mix in freeze-dried strawberries and blueberries.
Chocolate Brownie Bars
Add cocoa powder and chopped dates.
Granola Cluster Bars
Toss in puffed rice for extra crunch.
Protein-Packed Bars
Add a scoop of plant-based protein powder.
Tropical Sunshine Bars
Dried mango, pineapple, and shredded coconut.
Storage and Meal Prep Tips
Refrigeration: Store in an airtight container in the fridge for up to 1 week.
Freezing: Wrap individually and freeze for up to 2 months; thaw overnight.
Lunchbox Safety: Use an insulated lunch bag with an ice pack to keep bars fresh, especially if they contain nut butters or chocolate.
Nutrition Benefits for Growing Kids
Sustained Energy
Complex carbs from oats provide steady energy release—ideal for school days.Brain Support
Healthy fats from nuts and seeds help with brain development and concentration.Strong Bones
Ingredients like chia seeds and fortified plant-based milks (if used) supply calcium.Immune Support
Antioxidants from dried fruit, cocoa, or berries strengthen the immune system.Gut Health
Fiber helps regulate digestion, preventing the mid-day slump.
Getting Kids Involved
Children are more likely to eat what they help make. Encourage them to:
Measure oats or stir mixtures
Choose their own mix-ins
Cut shapes with cookie cutters for fun lunchbox surprises
This transforms snack prep into an activity rather than a chore.
Practical Guide: Adapting to Dietary Needs
Gluten-Free: Use certified gluten-free oats.
Vegan: Choose maple syrup or agave instead of honey.
Nut-Free: Swap peanut butter for sunflower or pumpkin seed butter.
Low-Sugar: Use mashed banana or date paste in place of syrups.
Lunchbox Pairings
No-bake bars work best as part of a balanced lunch. Pair with:
Fresh fruit (apple slices, grapes)
Veggie sticks with hummus
Whole-grain sandwiches or wraps
A reusable water bottle with infused fruit water
This ensures kids get a full spectrum of nutrients.
Creative Shapes and Presentation
Sometimes kids eat with their eyes first. Instead of standard rectangles:
Roll into energy balls
Cut with cookie cutters into stars or hearts
Layer with yogurt for a parfait-style treat
Troubleshooting Common Issues
Bars Too Crumbly: Add more binder (nut butter or syrup).
Bars Too Sticky: Increase dry ingredients like oats or coconut.
Bars Not Setting: Chill longer or freeze briefly before cutting.
Kids Reject Flavor: Let them choose their own mix-ins to personalize taste.
Cost Breakdown: Homemade vs. Store-Bought
Homemade: ~$6 for 12 bars ($0.50 each)
Store-Bought Organic Snack Bars: ~$7 for 6 bars ($1.16 each)
Not only are homemade bars cheaper, but they avoid preservatives, excess sugars, and plastic packaging.
Seasonal & Festive Variations
Back-to-School Special: Bars decorated with fun sprinkles.
Halloween: Add orange-colored dried apricots or pumpkin spice.
Christmas: Use cranberries, pistachios, and white chocolate chips.
Summer: Tropical fruits with coconut for a refreshing vibe.
Final Thoughts
Healthy no-bake bars are more than just a snack—they’re a way to empower families with quick, affordable, and customizable food that kids genuinely enjoy. By keeping the formula simple and flexible, you can create a rotation of flavors so that no two weeks of school lunches look the same.
These bars offer a smart strategy for busy mornings, picky eaters, and parents who want to nourish their kids without the fuss of daily baking. With just a few pantry staples, you’re set for weeks of stress-free lunchbox prep.

Leave a comment
Your email address will not be published. Required fields are marked *