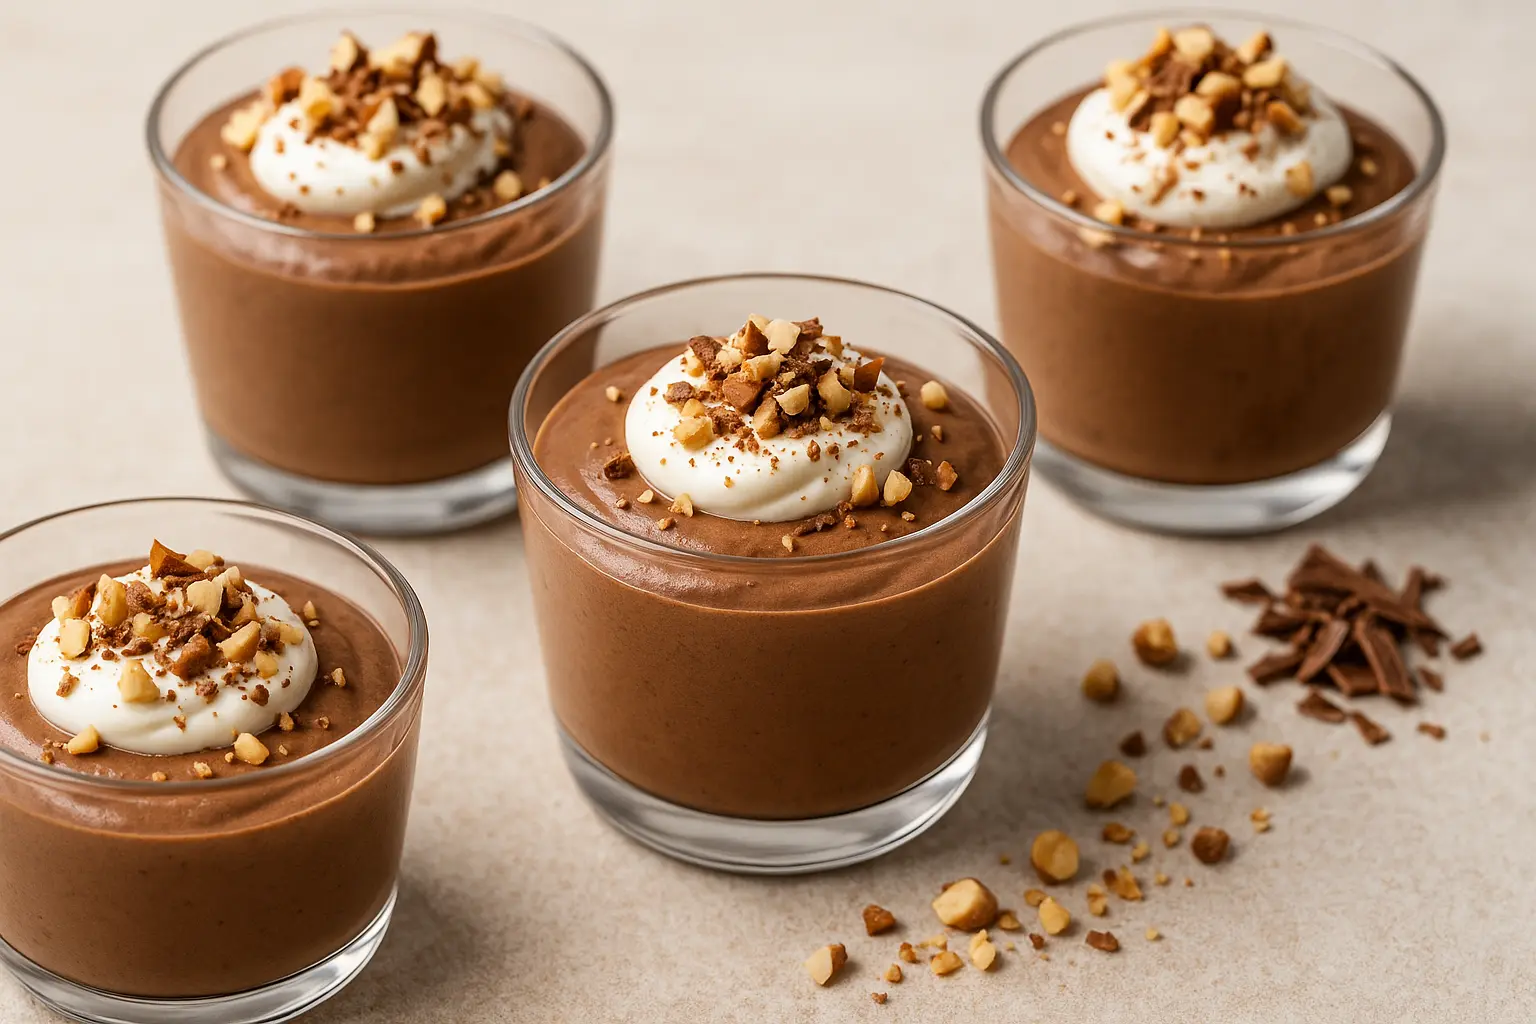
If you’re the kind of person who believes that chocolate can fix anything — this recipe is your sweet remedy. These Chocolate Hazelnut Mousse Cups are rich, smooth, and elegantly simple. They strike the perfect balance between indulgence and ease — no baking, no eggs, no fuss — just pure, decadent pleasure in every spoonful.
This dessert brings together the silky depth of chocolate and the nutty aroma of roasted hazelnuts, creating a mousse so velvety you’d think it came from a French patisserie. Whether you’re hosting a dinner party, prepping a romantic dessert for two, or treating yourself after a long day, this recipe delivers every time.
🧁 Why You’ll Love This Recipe
- No-Bake & Quick: Ready in under 30 minutes of prep — perfect for busy evenings or last-minute guests.
- Decadent Texture: Silky, airy mousse with a nutty undertone that melts in your mouth.
- Make-Ahead Dessert: Prepare in advance and chill — ideal for parties or meal prep.
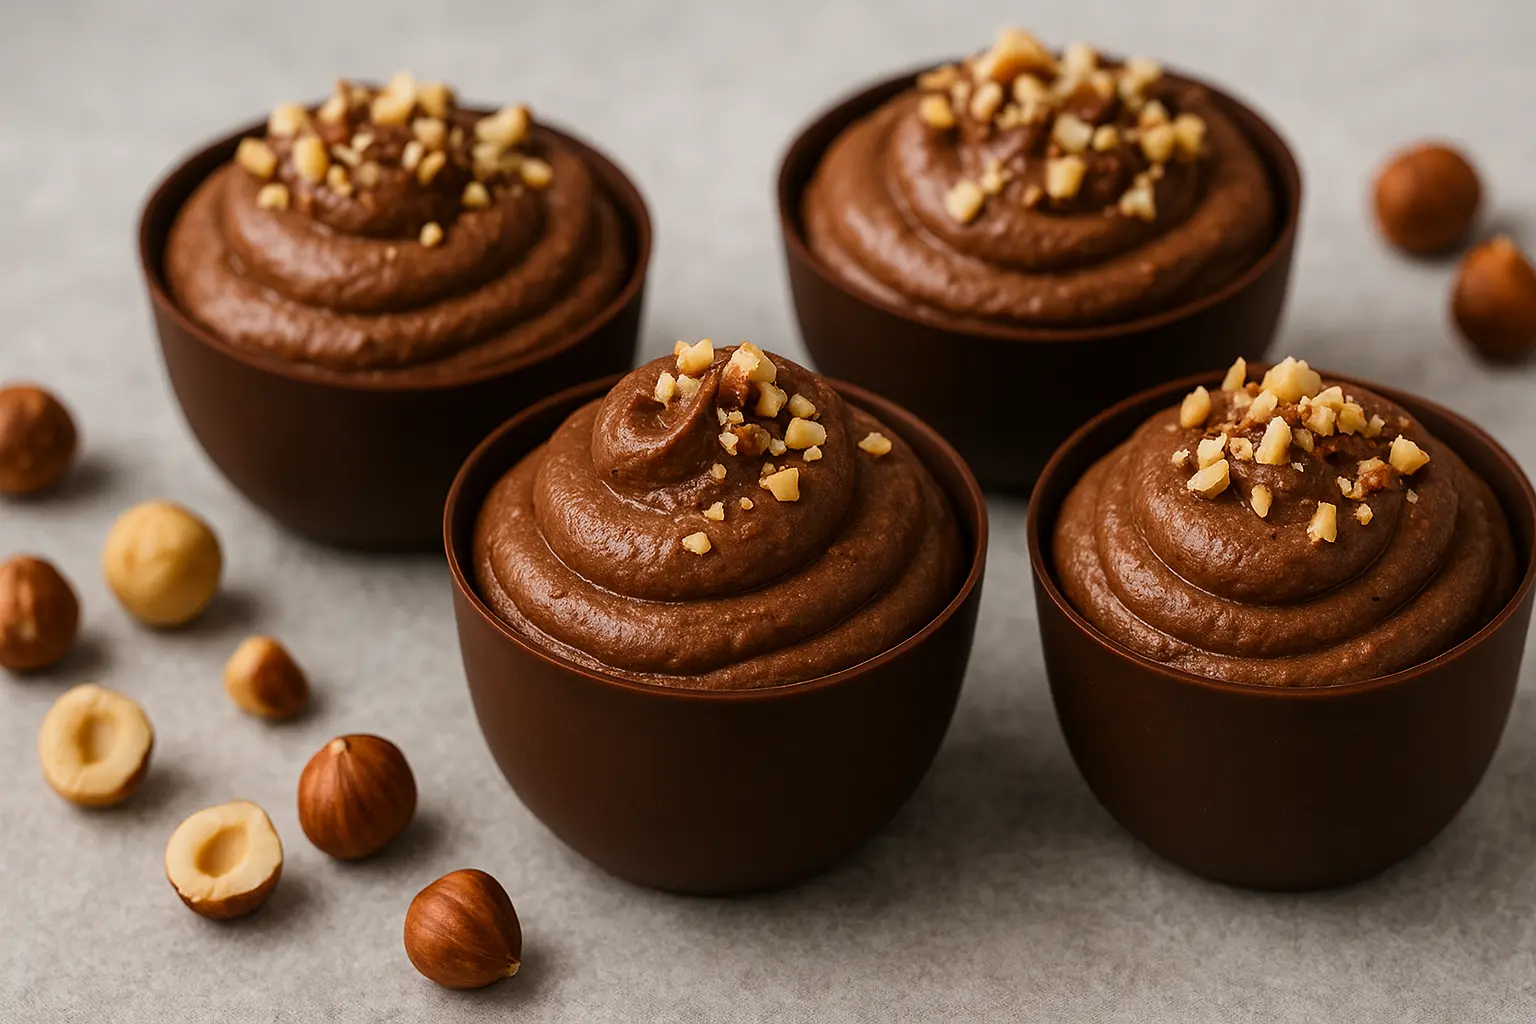
- Versatile Presentation: Serve in cups, glasses, or mini jars for a stunning dessert table.
- Vegetarian Friendly: Made without eggs or gelatin.
🍽️ Ingredients You’ll Need
For the Mousse:
- 1 cup dark chocolate (chopped or chips, around 150g)
- ¾ cup chocolate hazelnut spread (like Nutella or homemade)
- 1 cup heavy cream (chilled)
- ¼ cup milk (warm)
- 1 tsp vanilla extract
- A pinch of salt
For the Garnish:
- Whipped cream (optional)
- Chopped roasted hazelnuts
- Chocolate shavings or cocoa powder
🔥 Step-by-Step Instructions
Step 1: Melt the Chocolate
In a heatproof bowl, add chopped dark chocolate and pour over the warm milk. Let it sit for a minute, then stir gently until smooth and glossy. You can also melt the chocolate using the double boiler or microwave method (heat in 20-second intervals, stirring each time).
Pro tip: Always melt chocolate slowly and gently — overheating can cause it to seize or turn grainy.
Step 2: Add the Hazelnut Spread
Once your chocolate mixture is silky, add the chocolate hazelnut spread and mix until well combined. The spread gives it richness, flavor depth, and that irresistible creamy texture.
Step 3: Whip the Cream
In a separate chilled bowl, pour in the heavy cream. Using an electric beater, whip until soft peaks form. Do not overbeat — we want a smooth and airy texture that will hold its shape without becoming stiff or grainy.
Step 4: Combine the Mixtures
Gently fold the chocolate-hazelnut mix into the whipped cream in batches using a spatula. Avoid stirring aggressively; instead, fold in circular motions from bottom to top. This keeps the mousse light and airy.
Step 5: Chill and Set
Spoon or pipe the mousse into dessert cups or glass jars. Smooth the tops, cover with plastic wrap, and refrigerate for at least 2 to 4 hours (or overnight for best results). The longer it chills, the silkier and more stable it becomes.
Step 6: Garnish and Serve
Right before serving, top with whipped cream, sprinkle chopped hazelnuts, and dust with cocoa or chocolate curls. Serve chilled and enjoy that luscious, nutty-chocolate bliss!
🌰 Optional Add-Ons & Variations
1. Layered Dessert Cups
Create visual appeal by alternating layers of mousse, crushed biscuits, and whipped cream for a parfait-style presentation. Use chocolate wafer crumbs or digestive biscuits for contrast.
2. Mocha Hazelnut Mousse
Add 1 tsp of instant espresso powder to the warm milk for a rich coffee-chocolate fusion that enhances the nutty notes.
3. Vegan Version
Use coconut cream instead of dairy cream, and a vegan chocolate hazelnut spread. Choose high-quality dark chocolate (dairy-free) for best taste.
4. Crunchy Twist
Fold in some crushed hazelnuts, praline bits, or wafer crumbs before chilling for texture contrast.
5. Boozy Indulgence
Add a splash (1 tbsp) of Frangelico, Baileys, or Kahlúa for a grown-up dessert version.
🕒 Make-Ahead & Storage Tips
- Storage: Store mousse cups covered in the refrigerator for up to 3–4 days.
- Freezing: You can freeze them for up to 1 month. Thaw overnight in the fridge before serving.
- Make Ahead: Ideal for dinner parties — make them the night before and garnish just before serving.
🥣 The Science Behind Mousse
A mousse is all about aeration — combining air into a mixture to create lightness. The whipped cream acts as a stabilizer while chocolate provides structure when chilled. Hazelnut spread adds fat and smoothness, making the texture luscious without being heavy.
The balance between fat and air determines the mousse’s final feel — too much fat and it’s dense, too much air and it collapses. This recipe hits the sweet spot perfectly.
🍫 Homemade Hazelnut Spread (Optional)
If you want to go all-in on the homemade route, try making your own chocolate hazelnut spread.
Ingredients:
- 1 cup roasted hazelnuts
- ¾ cup dark chocolate, melted
- ¼ cup powdered sugar
- 2 tbsp cocoa powder
- 1 tbsp coconut oil (optional for smoothness)
- Pinch of salt
Method:
- Blend roasted hazelnuts in a food processor until smooth and buttery.
- Add melted chocolate, sugar, cocoa powder, and salt.
- Blend again until creamy.
- Store in an airtight jar and use as needed.
This spread keeps for 2–3 weeks in a cool pantry and elevates your mousse with a real nutty punch.
💡 Tips for Perfect Chocolate Mousse
- Use Quality Chocolate: Choose at least 60–70% cocoa dark chocolate for deeper flavor.
- Chill Everything: Cold cream whips better and holds air longer.
- Gentle Folding: Always fold gently to retain air — it makes the mousse light.
- Avoid Overwhipping: Overwhipped cream can split or turn buttery.
- Balance Sweetness: Adjust sugar level based on your chocolate’s bitterness.
🍮 Presentation Ideas
- Serve in mini shot glasses for elegant party bites.
- Use martini glasses for date nights or romantic dinners.
- Layer with chocolate sponge crumbs for a trifle twist.
- Add a dollop of whipped cream and gold leaf or edible glitter for a festive touch.
- Top with seasonal fruits like raspberries or strawberries for freshness.
🥂 Perfect Pairings
- Drinks: Espresso, cappuccino, or a glass of dessert wine (like Moscato).
- Food Pairing: Complements light meals like pasta, risotto, or grilled veggies.
- Occasions: Birthdays, anniversaries, Valentine’s, or holiday dinner spreads.
🍫 Nutrition Snapshot (per serving)
- Calories: ~320 kcal
- Fat: 24g
- Carbohydrates: 25g
- Protein: 4g
- Sugar: 18g
(Approximate values; may vary based on ingredients used.)
🌍 Story Behind Chocolate & Hazelnut
The legendary pairing of chocolate and hazelnut goes back to 19th-century Italy, particularly in Piedmont, where Gianduja — a mix of chocolate and ground hazelnuts — was created during a cocoa shortage. This delightful blend later inspired modern hazelnut spreads and iconic desserts like Ferrero Rocher and Nutella.
Today, this combination symbolizes comfort, luxury, and indulgence — a classic that never fails to impress.
🧑🍳 Cooking for Beginners? No Problem!
This recipe is beginner-friendly. Even if you’ve never made mousse before, it’s foolproof. You don’t need eggs, gelatin, or complicated techniques — just patience and a good whisk.
If you can melt chocolate and whip cream, you can make this dessert. It’s that simple.
🧊 Seasonal Twists
- Summer: Add fresh berries or a drizzle of raspberry coulis.
- Winter: Sprinkle cinnamon or add a hint of orange zest for warmth.
- Festive: Serve with crushed candy canes or edible gold dust for a holiday vibe.
🍽️ Serving Size & Scaling
This recipe serves 4 to 6 people, depending on cup size.
To scale up:
- Double the ingredients for 8–10 servings.
- For mini dessert cups, triple the recipe for a large party batch.
🎉 Party-Perfect Tips
- Serve mousse cups in small glass jars with ribbons for elegant party favors.
- Top with hazelnut praline shards for a touch of crunch.
- Use a piping bag to swirl mousse neatly into cups.
- Prepare 24 hours ahead for smooth texture and quick service.
🍯 Homemade Whipped Cream (Optional Topping)
Ingredients:
- 1 cup heavy cream
- 2 tbsp powdered sugar
- ½ tsp vanilla extract
Method:
- Chill the bowl and whisk.
- Beat cream until soft peaks form.
- Add sugar and vanilla, whip for another 30 seconds.
Spoon or pipe onto mousse just before serving.
❤️ Why This Dessert Works
Chocolate Hazelnut Mousse Cups blend ease, elegance, and comfort. It’s proof that homemade desserts don’t need to be complicated to taste luxurious. With minimal effort, you can transform basic ingredients into a showstopper worthy of a fine dining menu.
And the best part? It’s adaptable — you can make it dairy-free, vegan, or boozy — without losing its charm.
🌟 Pro Chef Tip
To achieve a mirror-smooth top, tap your cups lightly after filling to remove air bubbles. Then use the back of a spoon to smooth the surface before chilling.
🧁 Frequently Asked Questions (FAQ)
Q1: Can I use milk chocolate instead of dark chocolate?
Yes, but reduce the hazelnut spread slightly to balance sweetness.
Q2: Can I make this dairy-free?
Absolutely. Use coconut cream and dairy-free chocolate.
Q3: How long can I store it?
It lasts 3–4 days refrigerated and up to 1 month frozen.
Q4: Can I add gelatin for a firmer mousse?
Yes, though optional. Dissolve ½ tsp gelatin in 1 tbsp warm water and mix into the melted chocolate.
Q5: What’s the best way to serve for parties?
Mini dessert cups or shot glasses with small spoons — elegant, mess-free, and make-ahead friendly.
🍬 Final Thoughts
The Chocolate Hazelnut Mousse Cups are a celebration of everything we love about desserts — simplicity, luxury, and comfort. They’re a perfect fit for recipe collections, dinner menus, or festive gatherings, delivering indulgence without complexity.
Whether served as the grand finale of a dinner party or a midnight spoonful of bliss, this mousse proves that the best desserts are often the simplest.
So go ahead — grab that whisk, melt some chocolate, and make magic in a cup.

Leave a comment
Your email address will not be published. Required fields are marked *